BasicSite-Extras
1. Synchronizing the Site between the PC and the Server
Having successfully setup a webserver (Abyss) on the PC as well as completing the setup of the webserver (Nginx/Apache) on the Ubuntu server, the basic website from the PC can be uploaded to the Ubuntu server via FTP. Thereafter any changes made to the website on the PC can accordingly be uploaded to the server.
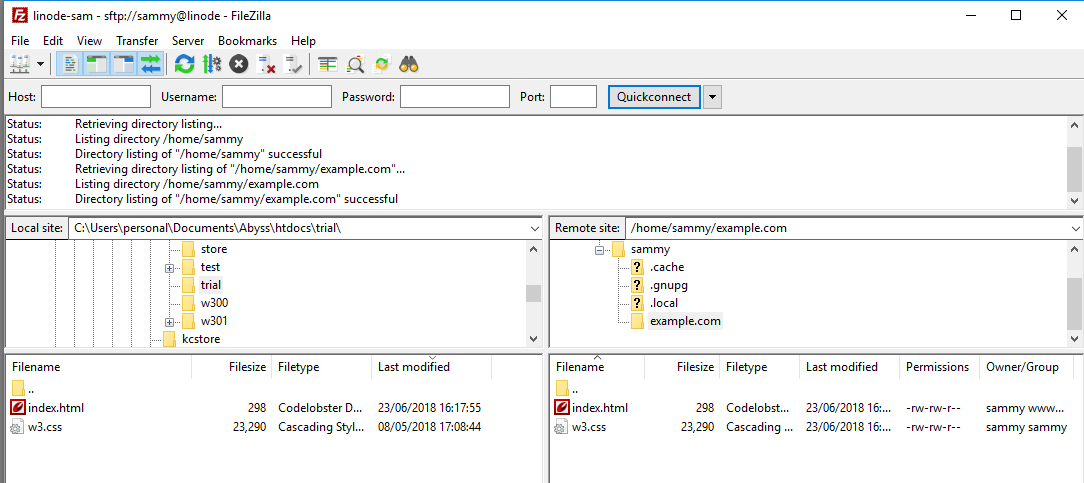
Step01: Connect to the Ubuntu Server via FTP (eg. FileZilla)
Connect to the server via a FTP client (eg.FileZilla)using the regular user (eg. sammy). Open the corresponding directories in Abyss and in the server (eg. example.com). Drag the two files 'index.html' and 'w3.css' into the server directory, replacing the older index.html file. Now the browser pointing to the server (eg. example.com) will reflect the same webpage as that of 'localhost' on the PC.
2. Adding an Email Contact Form
The simplest method is for one to simply add a "mailto" link with an email address, but such a link attracts alot of spam and this also wouldn't be very helpful to the growing numbers that visit websites via their smartphones. Below describes a better solution; that is to embed a contact form from one's website established in an iRedmail-based server. For the basic website environment, a PHP-based contact form will do. The following steps lead to a workable solution:
Step01: Create via iRedadmin (eg. https://example.com/iredadmin), a user's mailbox 'info' with one's domain (eg info@example.com - as per Codeproject's PHP-Contact-Us-Script requirement).
Step02: Ensure PHP files and forms work for the Basic Site
Do the first two steps in the Wordpress - Ensure PHP is Installed. This will ensure .php mail-form will run on the domain (eg.example.com).
Step03: Download the PHP Contact Script
Of the number of offerings, this writer found this script useful: PHP-Contact-Us-Script [CodeProject.com] For convenience, here is a ready-to-use copy 'Contact2Us'
Upload the zipped file into the website directory (eg./home/sammy/example.com).
Step04:
Step05: Open browser, the webpage should now offer a form to create a message, send and then check the user's mailbox 'info' with one's domain (eg info@example.com) via RoundCube mail (eg.https://example.com/mail). Note: The reply maybe in the 'spambox'.
| BasicSite-Home | BasicSite-Part B |
| BasicSite-Backup | BasicSite-Extras |